You do not need a computer vision background to ship an AI clothes try-on product. This tutorial walks through building one end to end, an app where a user uploads a photo of themselves and a photo of a garment and gets back a photorealistic image of themselves wearing it, using an AI coding agent, the YouCam Clothes Changer API, a hosted backend, and a real deployment. No image processing code required. The stack: Cursor as the AI coding agent (running on Claude Opus and Composer models), the YouCam API for the actual try-on generation, InsForge for auth, database, storage, and deployment, and TestSprite to verify the flow once it is live.
What you are building
A fitting room app with three moving parts: a landing page, a login flow, and an authenticated app screen where a signed-in user uploads a person photo and a garment photo, picks a category, and hits generate. Every generate click does the same thing under the hood: upload the images, ask the YouCam API to run the try-on, and return the result to display and save.
Step 1: Get a YouCam API key and test the API before you write any code
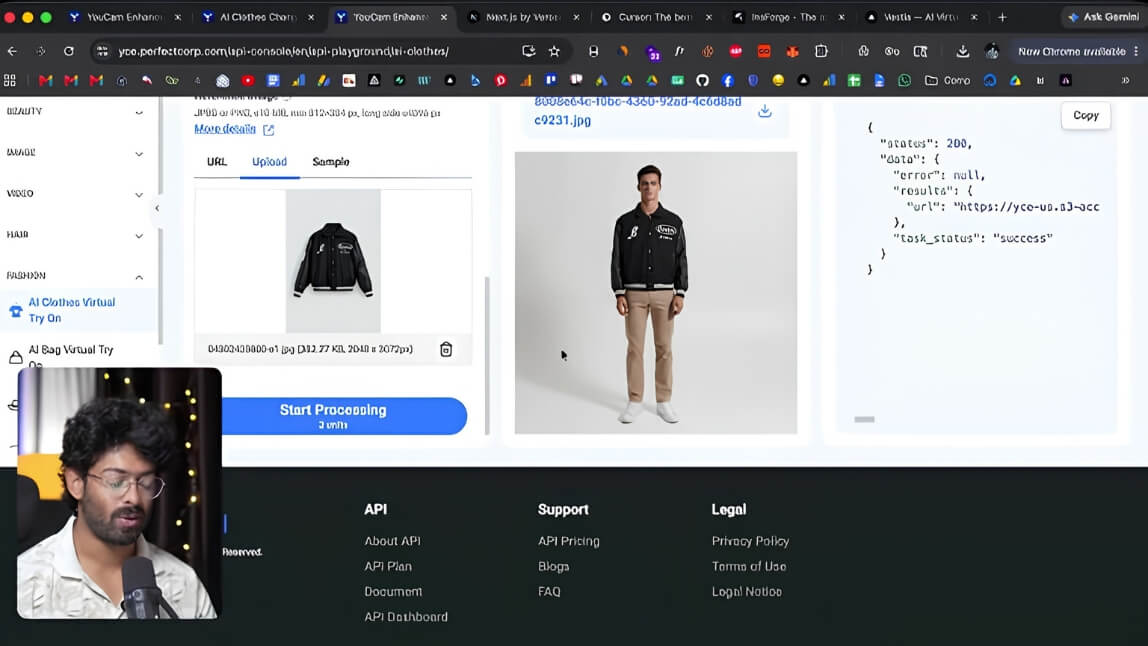
Register at the YouCam API console and generate a key from the API Key section. Before wiring anything into an app, use the API Playground to try the Clothes Changer feature directly: pick your API key, select the API version, upload a person photo and a garment photo, and hit start processing. Seeing the actual output quality before you integrate anything is worth the two minutes it takes, it tells you exactly what to expect once the same call is running inside your app.
Step 2: Scaffold the project and build the landing page first
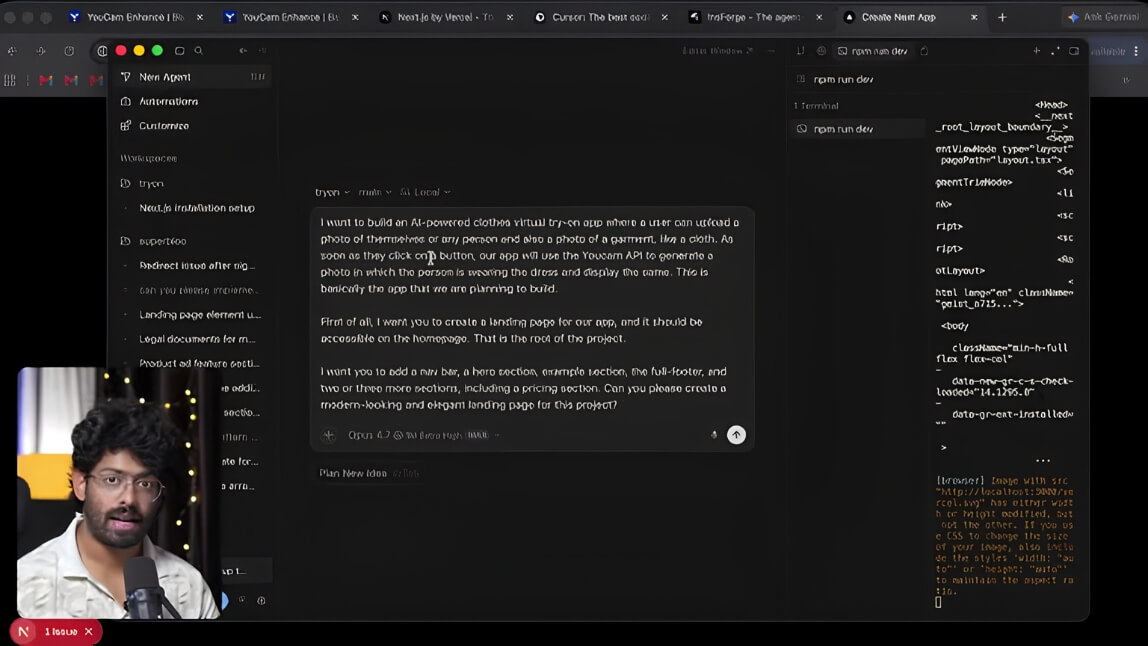
Set up a fresh Next.js installation, then open the project in an AI coding agent like Cursor. Describe the product in plain language before touching the API integration:
I want to build an AI clothes virtual try-on app where a user can upload a photo of themselves or any person and also a photo of a garment. As soon as they click a button, the app will use the YouCam API to generate a photo in which the person is wearing the garment and display the result. First, create a landing page for the app, accessible on the homepage, with a nav bar, a hero section, an example section, a footer, and two or three more sections including a pricing section. Make it modern and elegant.
Let the agent build the marketing page first. It gives you a real project to hang the harder feature on next, instead of prototyping the API integration in an empty repo.
Step 3: Feed the agent the real API documentation, then let it plan before it builds
Open the Clothes Changer API's integration guide and copy it as markdown, most API documentation sites have a copy-as-markdown option built for exactly this. Paste that documentation into your prompt to the coding agent along with clear instructions:
I want to implement the virtual clothes try-on feature into the app, accessible under the /app route. Below is the API documentation, refer to it and implement the feature properly. Users should be able to upload their photo and a photo of a garment, and with the press of a button the app should call the API below, get the result back, and display it on screen.
Run this in your agent's planning mode rather than having it start writing immediately. Review the plan it produces, confirm it correctly notes that the API key should live server-side and never reach the browser, then approve the build. A well-formed plan at this stage saves you from debugging a client-side key leak later.
Step 4: Add your real API key and confirm the core feature works
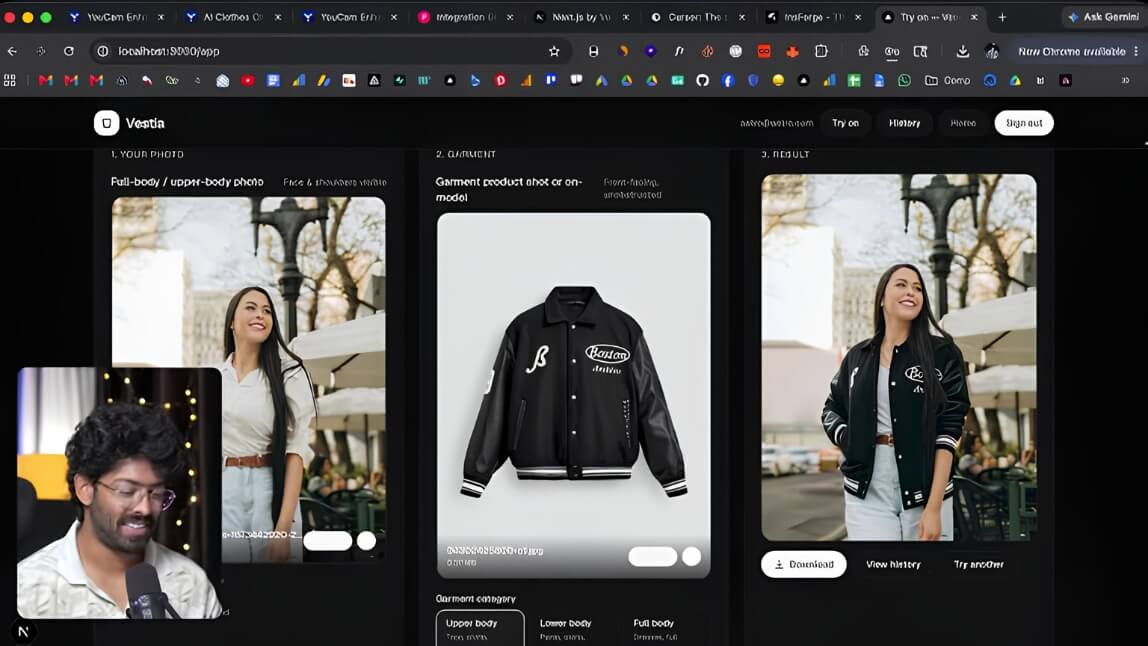
Once the build finishes, drop your real API key into .env.local and restart the dev server. Open the app route, upload a photo of a person and a photo of a garment, pick a category, and hit generate. If everything is wired correctly, you get back a rendered try-on image in seconds, with the person's pose and expression preserved and the garment applied realistically. This is the checkpoint worth confirming carefully before adding anything else, at this point the app can generate results but cannot yet save them or gate access behind a login.
Step 5: Add authentication, a database, and file storage
A generator that forgets its output on refresh is not a product yet. Rather than hand-building login, a database, and a storage bucket, a backend-as-a-service platform like InsForge can scaffold all three from a prompt once its CLI is connected to your project. Ask the agent to add authentication, a database, and image storage using the connected backend, and specify what you need: users should be able to see all of their previous generations on a history page, and only authenticated users should be able to access the app itself. The agent can then create the storage bucket, the results table, and the login screens (email and password, plus social providers) without you touching the backend dashboard directly.
Step 6: Expect a permissions bug the first time you test the full flow, and that is normal
The first time you test the complete logged-in journey, upload, generate, save, do not be surprised if the save step fails with a storage permissions error. A common cause is a row-level security policy on the storage bucket that is blocking the write. The fix is simple: copy the exact error message, paste it back to your coding agent, and ask it to resolve it. This class of bug is routine the first time auth and storage get wired together, and it is exactly the kind of fix an AI coding agent handles quickly once it has the real error text in front of it. Regenerate a try-on after the fix and confirm the result now appears both immediately on screen and on your history page.
Step 7: Deploy through your backend platform, not a separate hosting step
If you are using a backend platform that bundles deployment, like InsForge, you do not need a separate hosting provider for this project. Look for a deployments section in that platform's dashboard, copy the prompt or command it gives you, and hand it to your coding agent. The agent triggers the deployment and the platform returns a live URL you can share. Open that URL, sign in with the same account you used locally, and confirm your previous generations show up on the history page there too, that confirms your database and storage are correctly pointed at production, not just your local environment.
Step 8: Test the deployed app with an AI testing agent
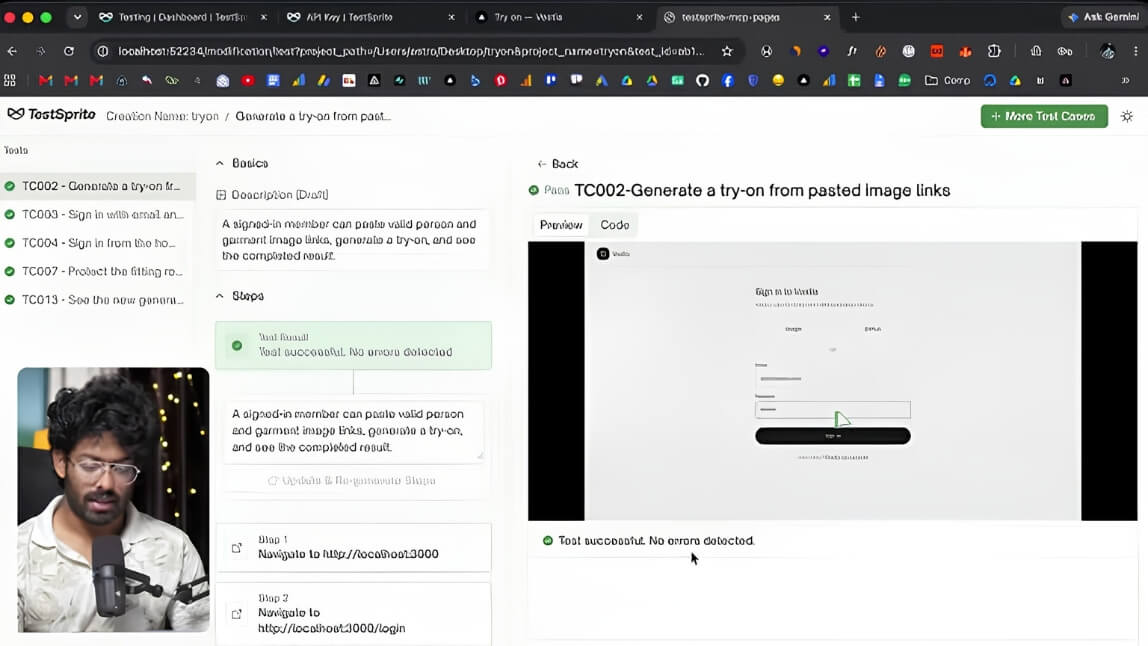
Once the app is live, connect an AI testing tool like TestSprite to your coding agent through its MCP integration. Upload a short product specification describing what the app does, and ask it to run a handful of important front-end tests. A reasonable starter set covers: signing in with email and password, signing in from the homepage, generating a try-on from pasted image links, confirming the fitting room is not accessible to anonymous visitors, and confirming a completed generation shows up in history afterward. The tool can run these against your local build or your deployed URL, and it hands back a recording of exactly what it clicked through for each test alongside a pass or fail result. If you connect it to your GitHub repository as well, it can run this same suite automatically on every pull request and block a merge if something breaks, which is worth setting up before you start iterating further on the app.
What you have at the end of this
A deployed app with a marketing landing page, real authentication, a working AI clothes try-on feature backed by the YouCam API, a history of past generations per user, and an automated test suite covering the core flow, running against both your local build and your live URL. None of the AI image generation work was written by hand, the coding agent and the YouCam API handled that. What you built by hand was the product around it, the flow, the auth, the fix for the one bug that showed up, and the test coverage that makes it something you can keep shipping safely.
FAQ
Why test the API in the Playground before writing any integration code?
It separates two different questions: does the AI feature produce results good enough for your product, and is your integration code correct. Answering the first question in the Playground means any bug you hit later is clearly on the integration side, not the underlying model.
Why paste the API documentation into the coding agent instead of just describing the feature?
A coding agent working from a description alone will guess at request formats, parameter names, and error handling. Giving it the actual documentation means it implements the real API contract instead of a plausible-sounding approximation of it.
Is a storage permissions error a sign something was built wrong?
Not necessarily. Restrictive default security policies on a storage bucket are a reasonable default, and loosening them correctly for your specific access pattern is a normal part of wiring authentication and storage together, not a red flag.
Do I need a separate hosting provider if my backend platform can deploy the app itself?
No. If the platform handling your database and storage also offers deployment, using it keeps your environment variables and backend configuration in one place instead of split across two dashboards.


 Author: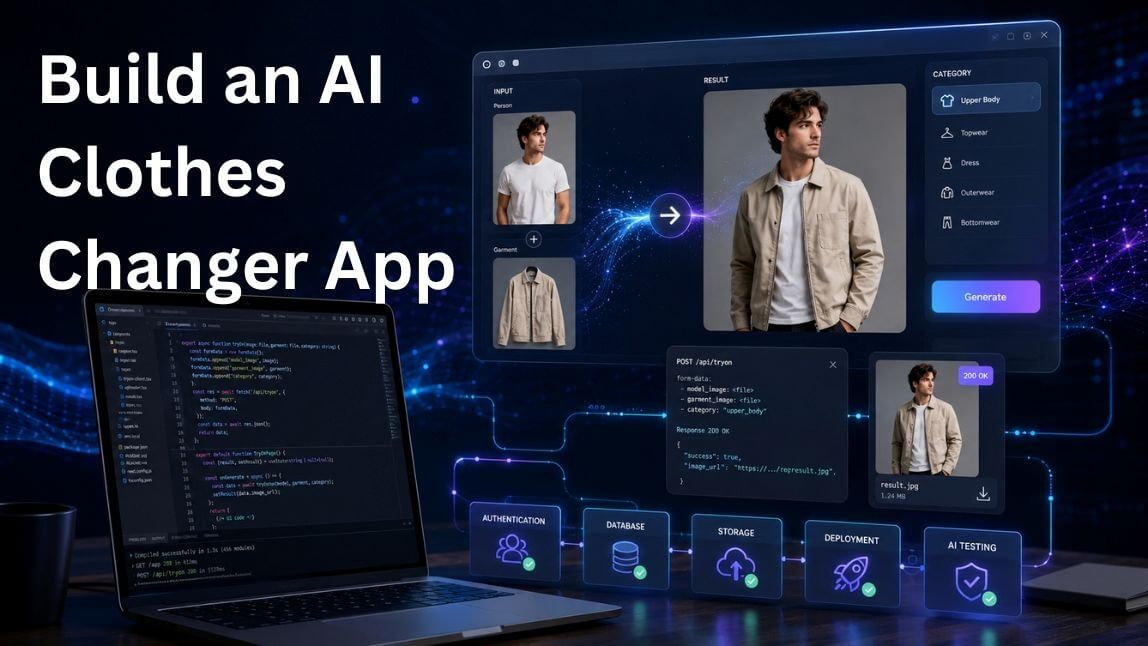



 English


